
Seeming for ways to draw a pennywise drawing, you will get here with each defined steps and varieties of Images.
Before drawing anything, we should have a little knowledge about it as it indirectly affects our artwork, therefore, the Pennywise is a character of Stephen King’s 1986 fear novel ‘It’ The character is also known as ‘It’ the dancing clown. In the form of a comic, this is one of the most fright characters from all horror films and is also one of the best-known and most feared roles.
Let’s begin!!
Step 1
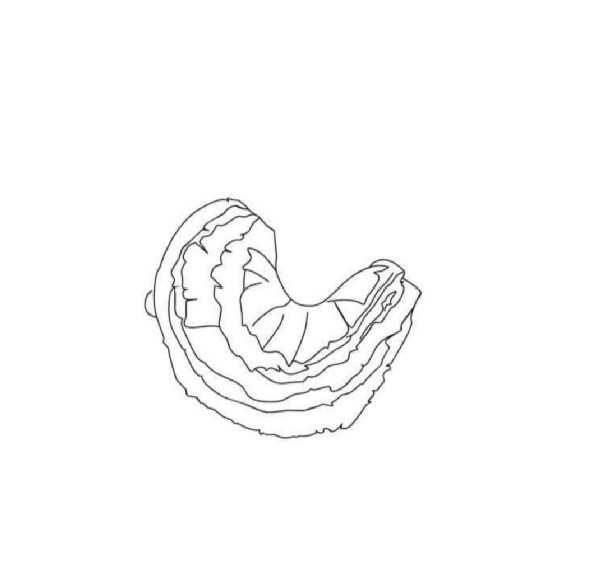
In this step to draw a pennywise drawing, you should first draw out its nape cloth region to give a supportive framework with the hazy lines mesh layer by layer. Use the essential tool to outline as it should not be darker either unerasable.
Step 2
After obeying the first step, you should continue to draw out the arm sleeves again with the hazy outlines living the margin line for the hands as you could get out of the image given below.
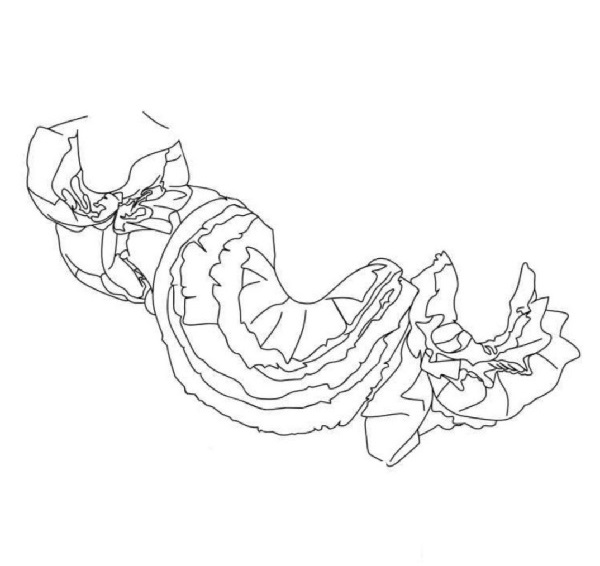
TIPS – TRY TO OBSERVE THE IMAGE PROPERLY TO EXTRACT OUT WITH MORE PERFECTION.
Step 3
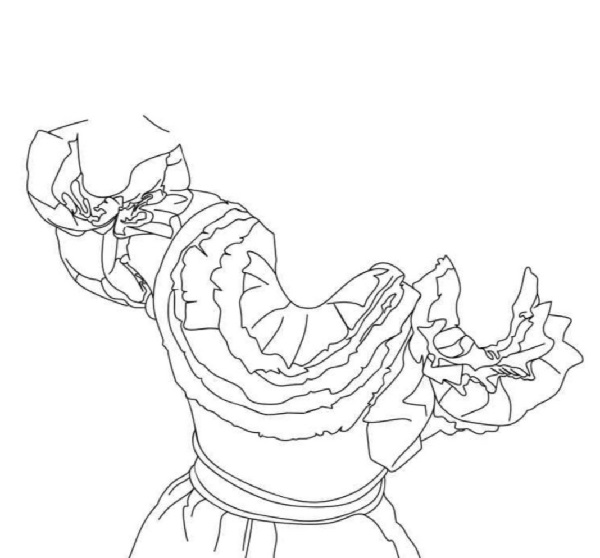
In this step, you should outline the cloth-covered the bottom region such as the waist continues with the outline drawn above; use the curve line to derives the waist part as the image divine here.
Step 4
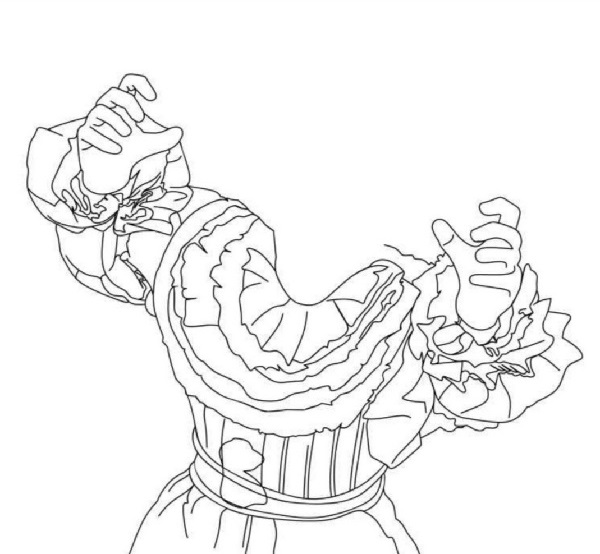
In this step to draw a pennywise drawing, you should draw out the outline of the hooking figures of its both hands by the curves line continues with the end of the sleeve and also give out the detail on the clothes by the vertical curves lines on witnessing the image divining here.
Step 5
In this step, you should outline the margin of the pennywise face and, draw out its turned hair with sharp edge also fill the black color upon the hair living the necessary white curled curves sidelines as you could view out the image given below.
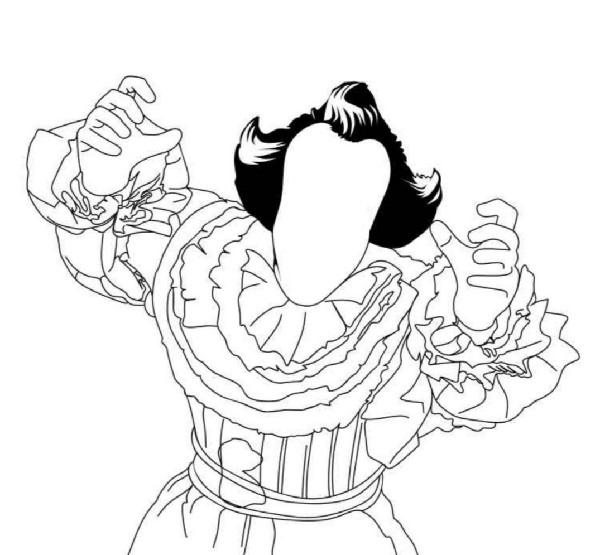
Step 6
In this step, you should draw out all the details of its face such as the eye, nose, evil marks continue with its jaws and eyes pointing toward the head, fill the black color on its front nostrils area and also draw out its teeth by living white pointing curves as the figure presented here.
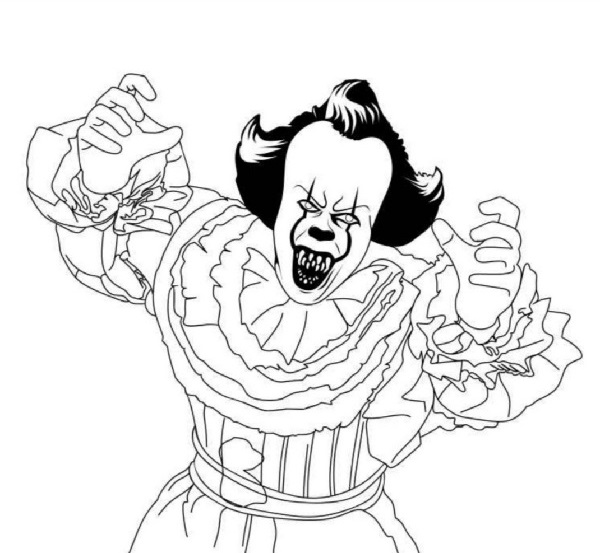
Step 7
It is the last but one of the most efficient steps as in this step you should fill out the black color or shade on the whole body or the region of the fabric living necessary white section such as it derives the shadow area as the figure given here. It is not necessary for you to go through this step as it may be difficult for the beginner.
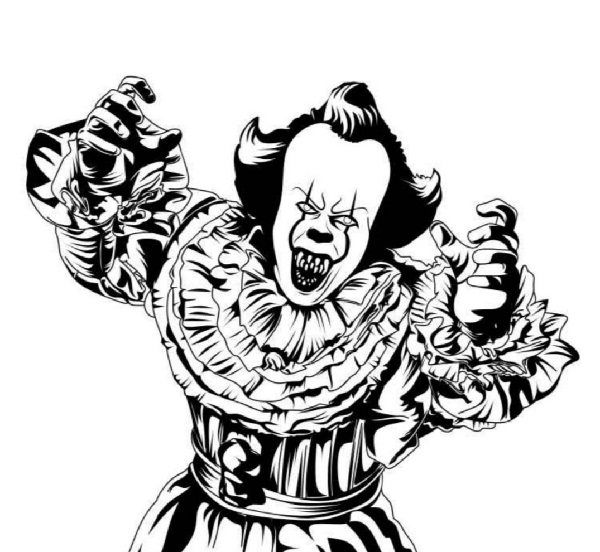
TIPS – LIVING WHITE SECTION IS QUITE NECESSARY.
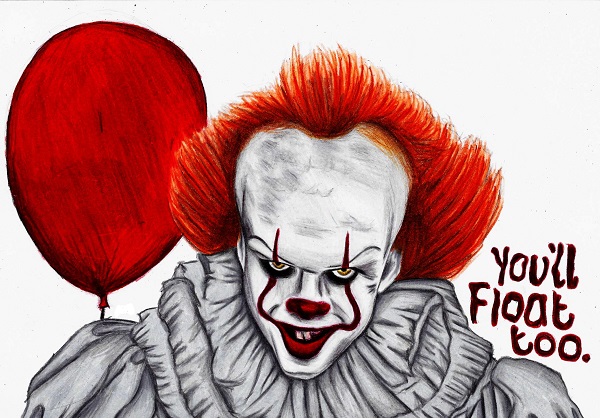
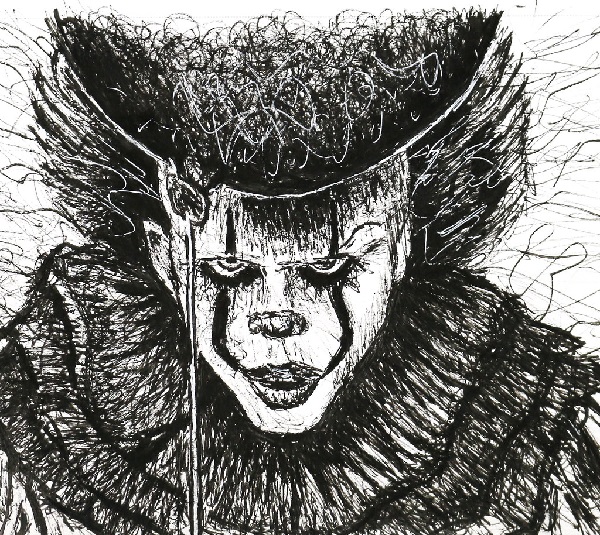
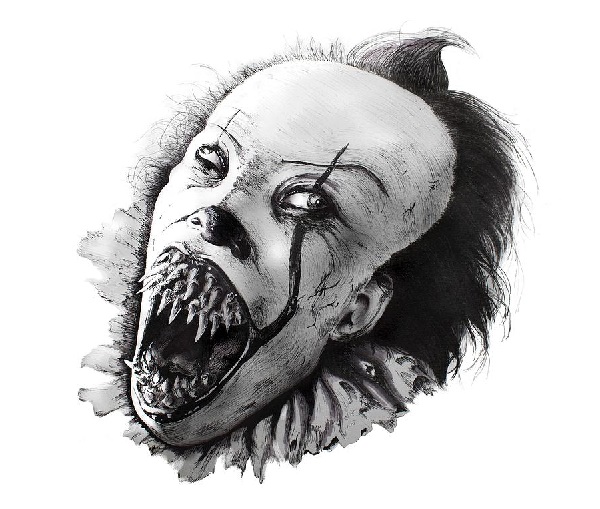
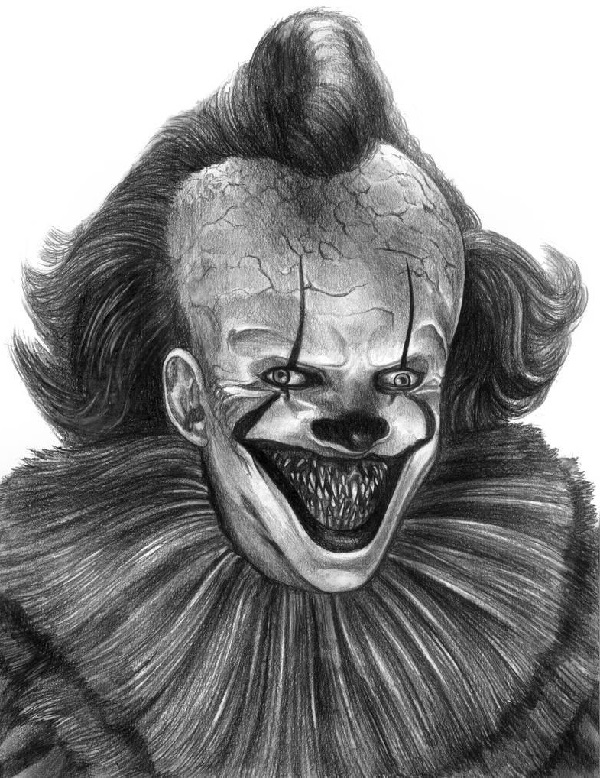
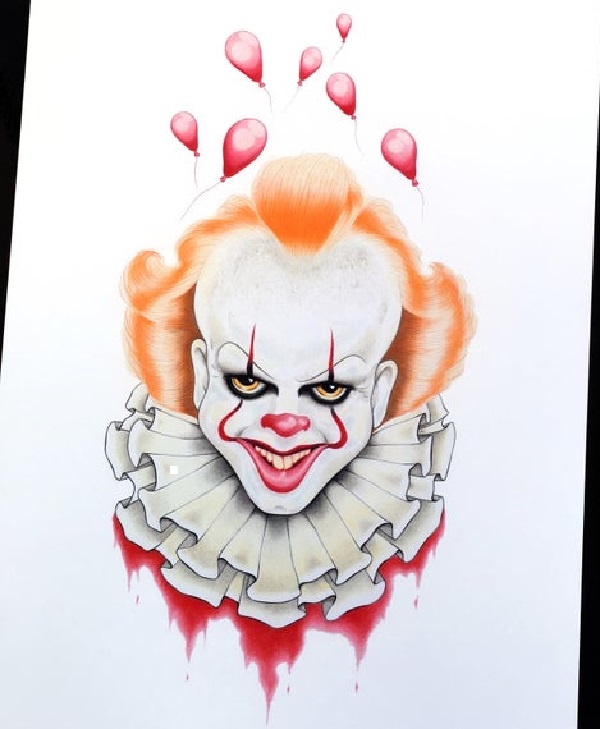
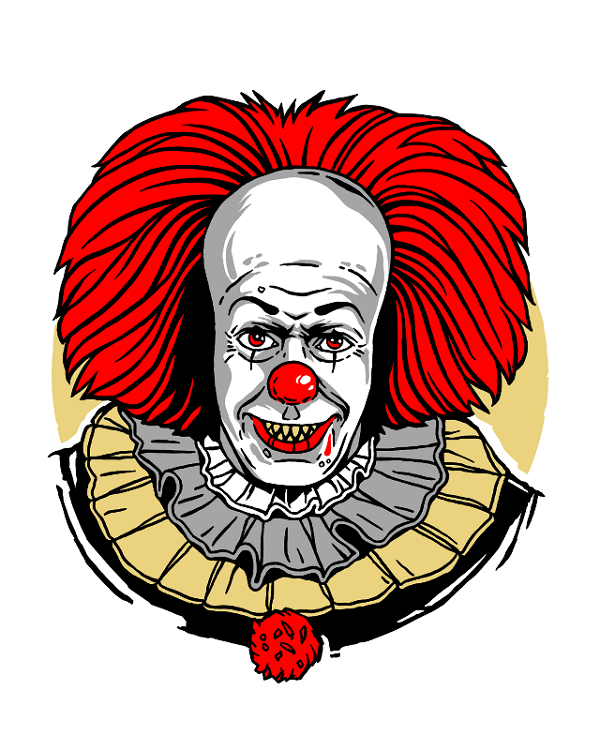
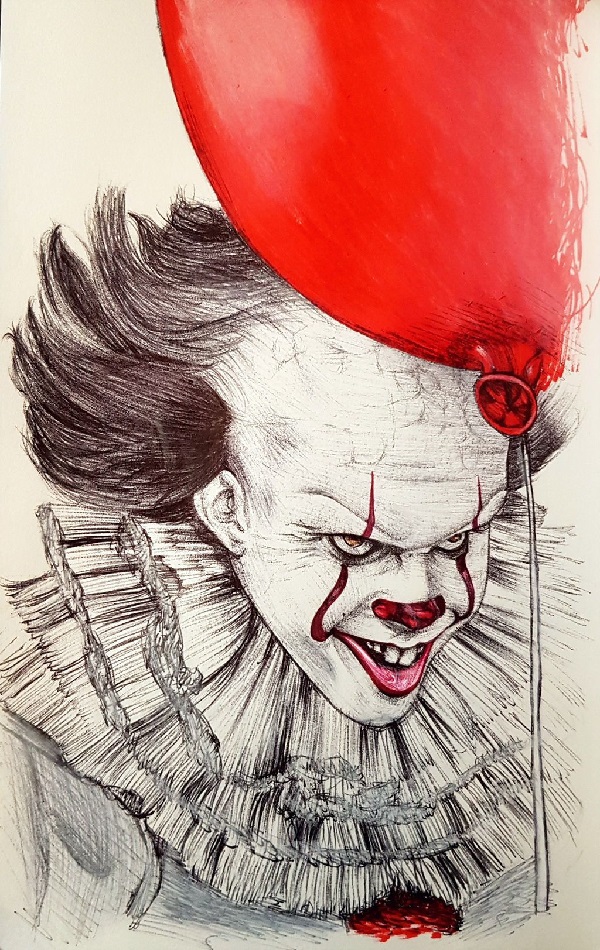
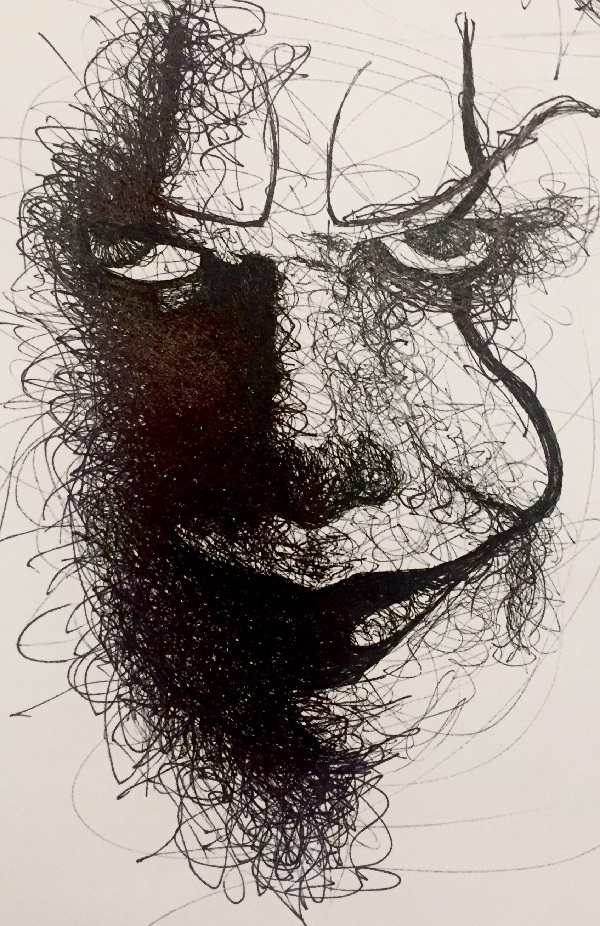
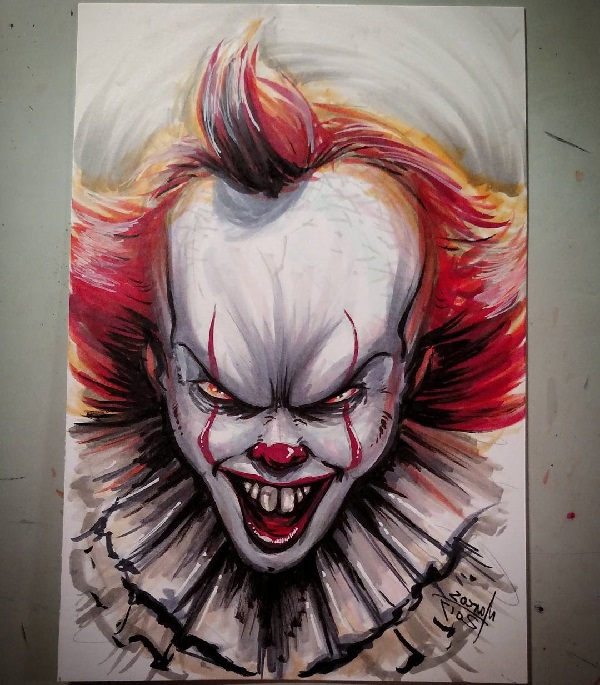
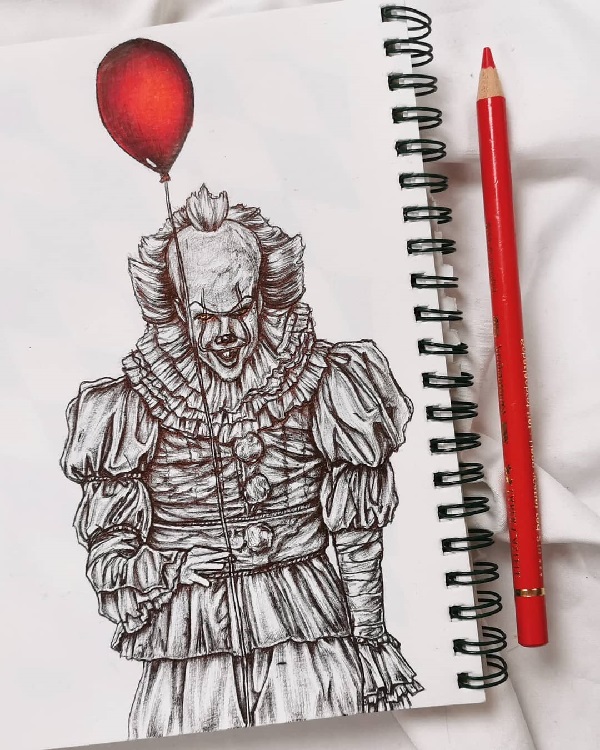
You could also observe below the varieties of Pennywise drawing images that you may decide to draw.
Here, is my YouTube video from which you will get to exciting drawing ideas, so do not forget to subscribe.
Thank you!! We will meet again!!