A Step-by-Step Guide to Draw a Black Panther Drawing In 15 Minutes.
Looking for a way to draw a black panther drawing, you will get here with each outlined steps.
Before drawing anything, we should have a little knowledge about it as it indirectly affects our artwork, therefore, the Black Panther is the power held by T’Challa, a part of the noble family of the fictional African country of Wakanda. After the end of his father, T’Challa declared the authority and the role of Black Panther. He was shown to a mystical herb that improved his strength and ability to superhero.
Let’s begin!!
Step 1
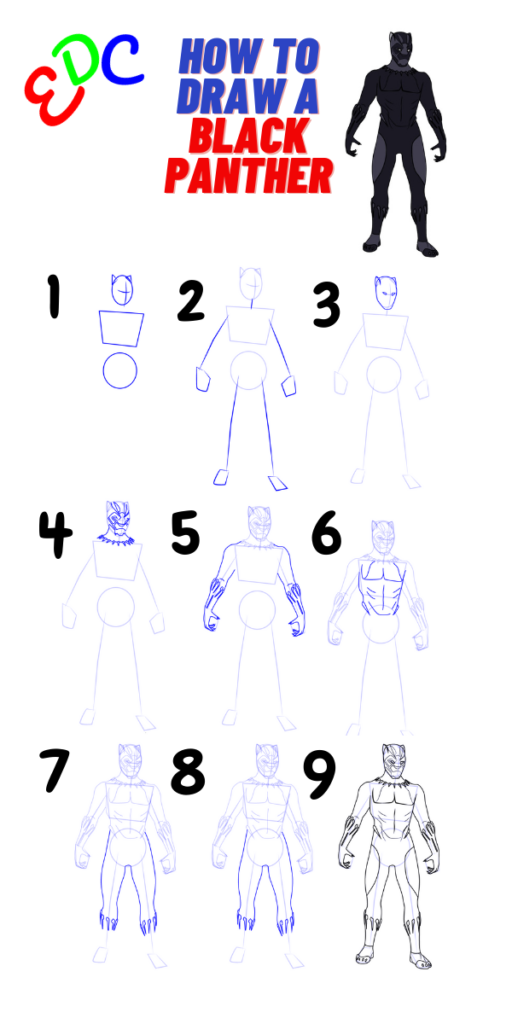
In this step, you should first outline the basic framework over which you will continue to draw is something’s like two circles and a quadrilateral use an effective tool to outline as it should not be extra dark or very faded.

Step 2
In this step, you should link the frame or extract more like two perfect lines to determine the hands and another two to define the legs with a quad-shaped at the end.

Step 3
After obeying the first step, you outline the face with the help of the circular frame and extract the basic sketch of the eyes and ears as you could get out of the image given below.

Step 4
In this step, you should draw out the design or pattern of the mask on the face by the perfect lines and also extract out the pointing edge at the neck region by witnessing the image derives here.

NOTE – THE LINE ON THE MASK SHOULD NOT BE DIFFERENT.
Step 5
After following the above steps, you should draw out its arms and hand continue with the neck by the help of the lines frames and also extract out the device on the arms as you can examine below.

Step 6
In this step, you should draw out the chest with the pattern design of its uniform as the image described below.

Step 7
After regarding the above step, you should outline the uniformed-legs omitting its foot again with the help of the lines frame.

Step 8
In this step, you should draw out its foot to continue with the legs outline and also sketch the few curves lines on the suit as the image derives hereabouts.

Step 9
It is the last sketching step in which you should erase all the error lines if you may extract and you should also remove the framework drawn of the first and second steps.

NOTE – THE FRAMEWORK IS NOT ERASED IN THE IMAGE BUT YOU SHOULD.
Step 10
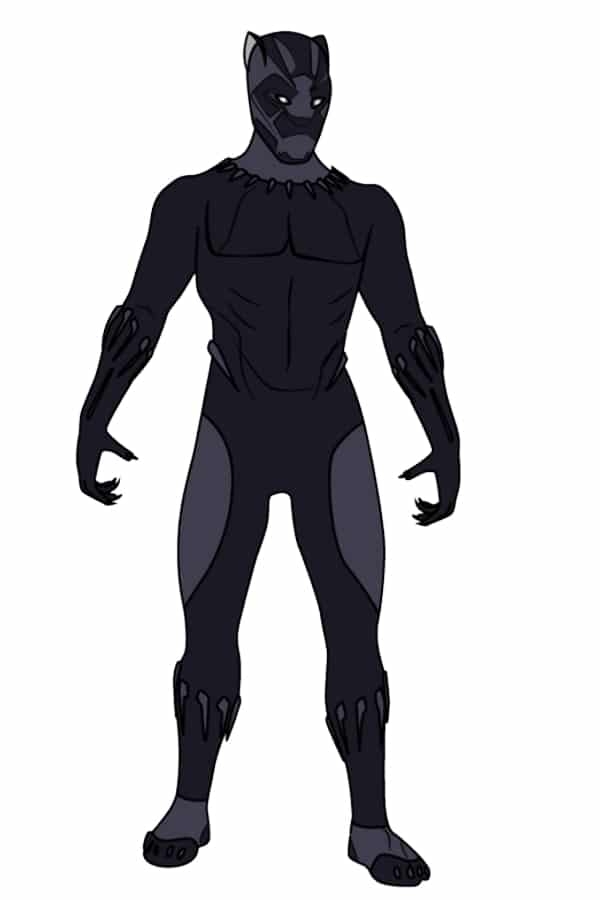
It is the last but one of the most efficient steps as in this step you should fill out the color on the figure drawn up. Try to use the color which usually suits such as black or grayish color on the complete region living the white at the eyes and use light grayish color on some designs as the figure given here.
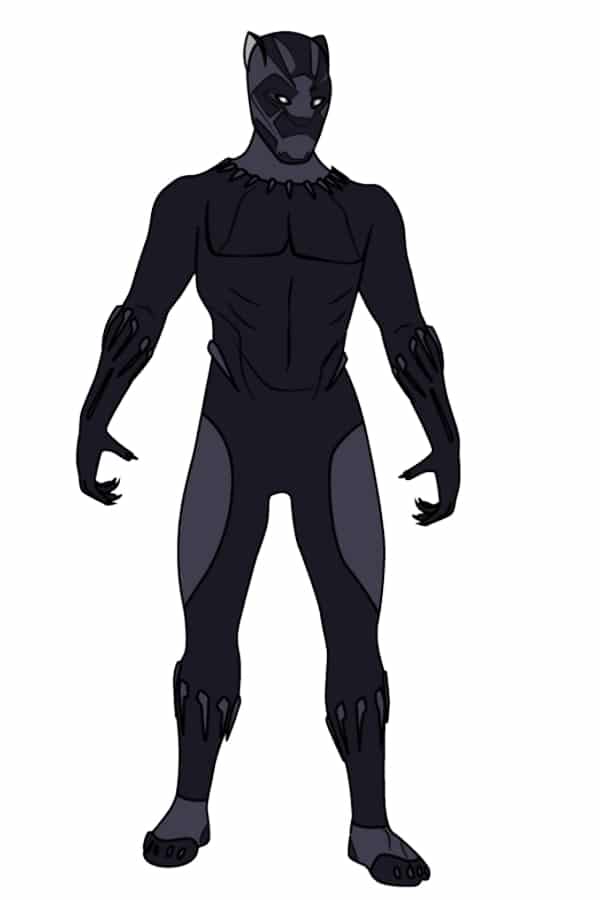
TIPS- TRY NOT TO USE THE COLOR OTHER THAN GRAYISH OR BLACK.
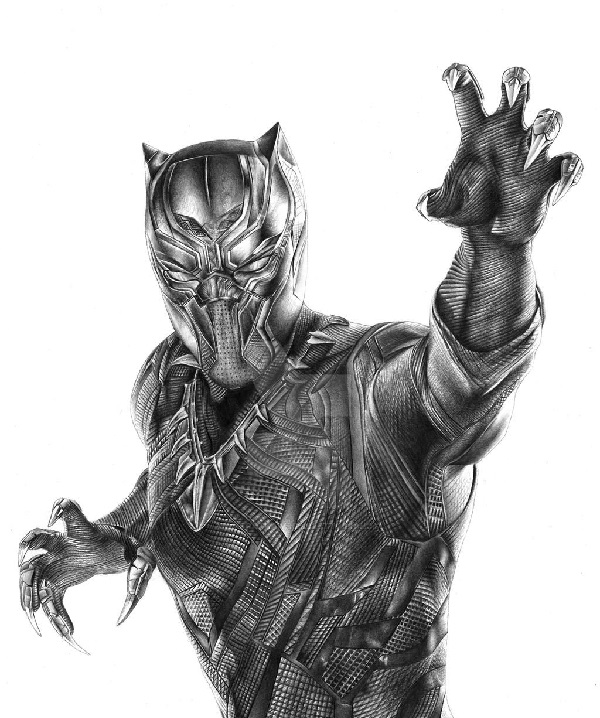
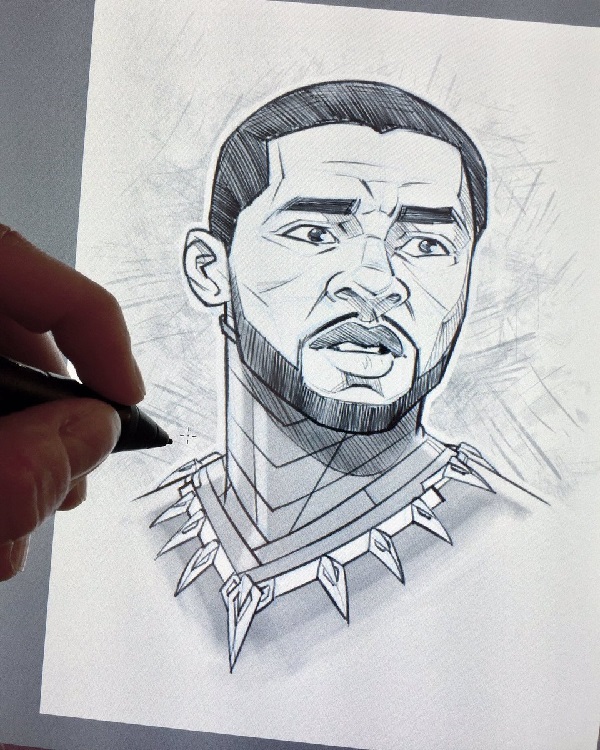
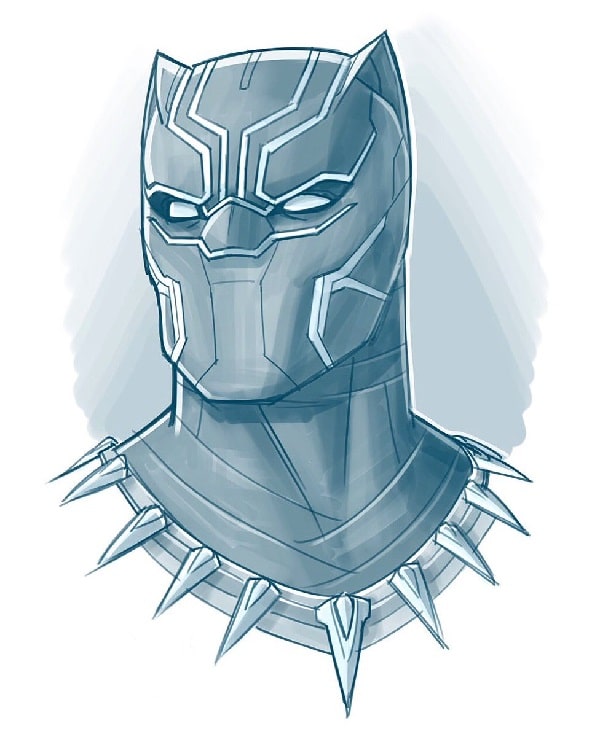
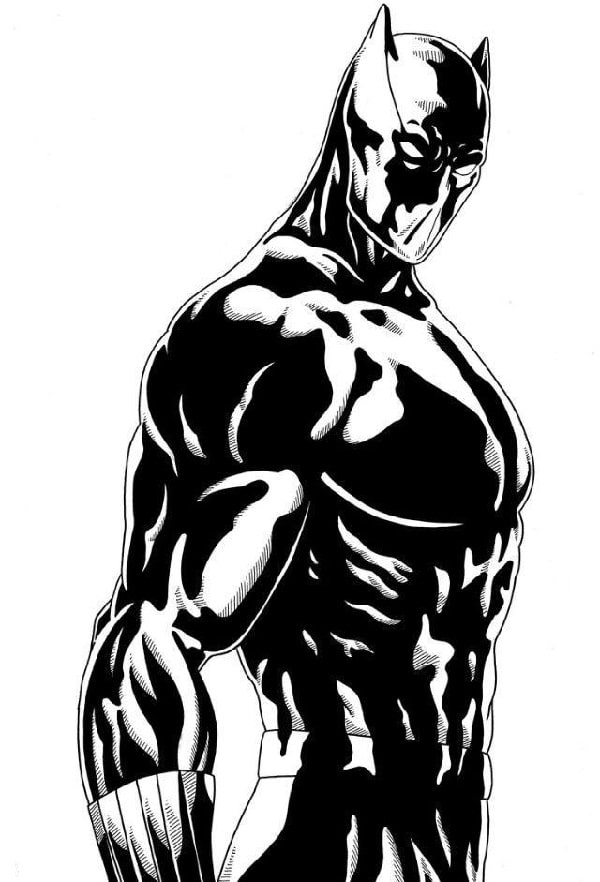
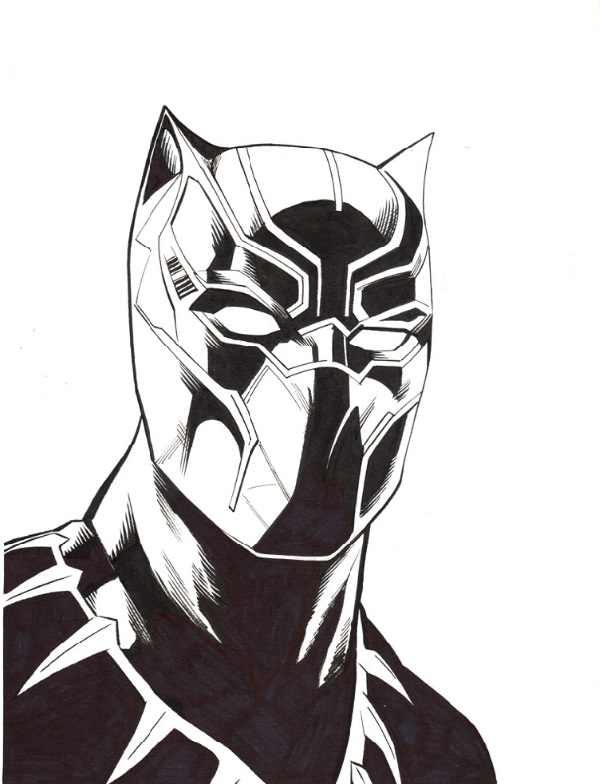
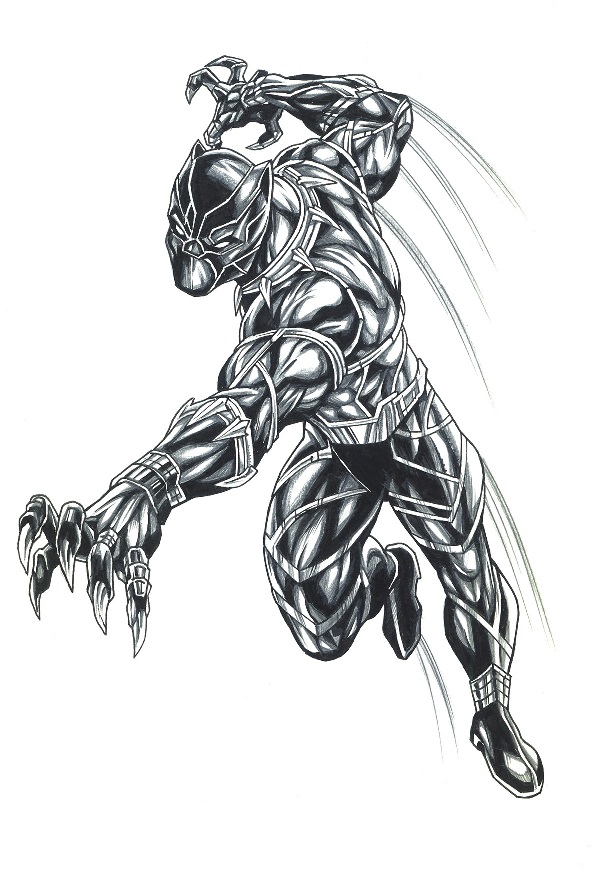
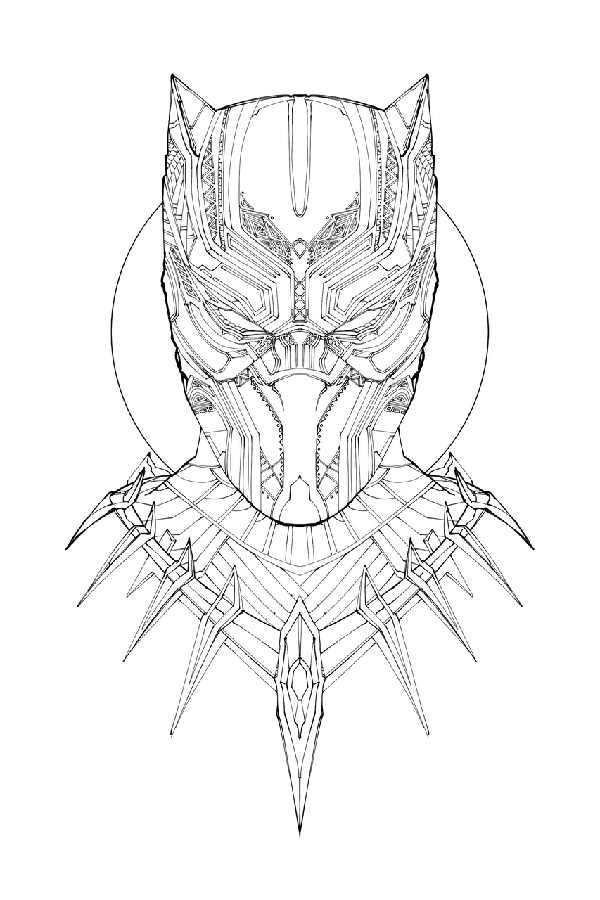
You could also observe below the varieties of images that you may choose to draw.
Here, You Will Find the Steps Printable Page of Black Panther Drawing.
Here, is my YouTube video from which you will get to exciting drawing ideas, so do not forget to subscribe.
Thank you!! We will meet again!!

